FE3H - Maddening Blue Lions Chapter 8

Chapter 8 - The Flame in the Darkness (Cont.)
Finally it is time to head to Remire Village and see what is happening there. Ingrid and Lysithea are now 20 and I manage to nail a 42% and 64% Certification for them to reach Advanced Class.
Certification:
Ingrid - Paladin
Lysithea - Warlock
Lysithea gains a bunch of stat points for promotion, helping her not be at as much risk of dying to any phyiscal interaction.

Battle: The Remire Calamity
Deploy: Rikka, Dimitri (Flayn), Ingrid, Hilda, Ashe, Lysithea, Annette (Mercedes), Marianne, Felix, Sylvain
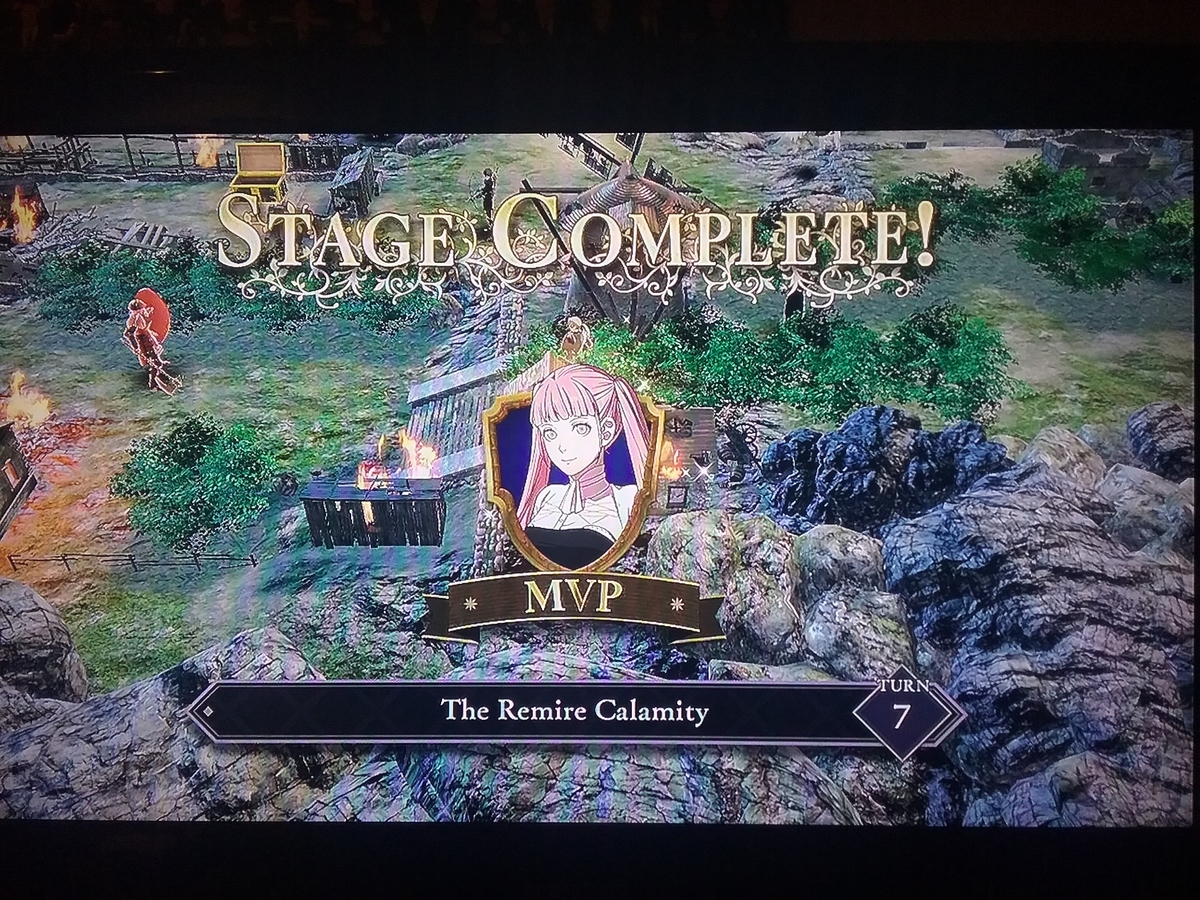
Remire is facing what is basically a zombie outbreak which may or may not be bioweapon terrorism. The rampaging Villagers are not particularly strong, and conveniently a lot of my units can reach around 18 AS and can 2x hit them. The issue in this map is more about the large amount of terrain that impedes movement, with all the burning rubble, trees and fences scattered around the map. The other issue is ensuring that I don't save all the Villagers too quickly causing Jeralt to move in an attempt to kill Solon. I need to buy myself a few turns in order to allow myself to take out the Death Knight and his band of units, as well as to pick up the treasure boxes around the map.
Fliers are extremely useful on this map, as they can freely navigate through the map without any issues. The training I've been doing for Hilda pay off really nicely in this chapter, as she is conveniently able to fly around and get an exact 2HKO on then zombie villagers with a Training Axe as a result of having Death Blow and getting to D Authority to be able to use a Battalion. As such, Hilda is able to easily take care of things going on with all the Villagers on the right side of the map while I sent half my forces towards the left side of the map to engage with the Death Knight when he appears and a few units moved straight down the middle. The pace sets up nicely for me to get everything taken care of by the time I save all the Villagers and Jeralt starts to move.
The berserk Villagers do actually have a 2% chance to crit the NPC Villagers that need to be rescued so there was always a bit of a scare every time someone got attacked that they might just get instatly killed by a 2% crit. Fortunately I didn't see any of that happening today.
Solon actually moves instead of standing idle, and starts walking around immediately after he reveals himself. Solon also will move on the same turn he reveals, so if you move too quickly and approach down the center of the map, you can end up with a bit of a nasty surprise. Humourously though, this actually made the map a bit easier because I wasn't in range and he ran backwards into the thickets in the bottom center of the map and just wandered around aimlessly in there instead of being of any real threat to my team, kindly letting me dispose of the Death Knight and other enemies around the map before I eventually encircled him and finished him off.
Lysithea is able to OHKO the Death Knight with Dark Spikes, so I set up a position to stack in as many linked attack bonuses in order to get Lysithea's accuracy up, then dropped the Spikes on him at around 85% accuracy. Dropping a Fusillade on him also allowed me to stun his cohorts to give me a safe and clean shot to erase the Death Knight without any worry of exposure to counter attacks.
Overall, the map went smoothly, and we are able to save all the villagers without much incident. One Divine Pulse use because I forgot to consider the fact that zombie Villagers would spawn and attack immediately, and Marianne got KO'd by 2 50%s.
Resets: 0 (0)
Divine Pulses: 1 (16)
Roster:
Rikka - L21
Marianne - L21
Lysithea - L21
Dimitri - L20
Ingrid - L20
Mercedes - L20
Annette - L20
Sylvain - L20
Felix - L19
Ashe - L19
Dedue - L19
Flayn - L19
Hilda - L18
Dorothea - L17