FE3H - Maddening Blue Lions Rhea's Paralogue

Chapter 16 - The Rose-Colored River
Preparing now to head to the Bridge of Myrddin. We are approaching the later parts of the game so there isn't exactly too much to be doing anymore with regards to exploration and set ups for future maps. I guess Lysithea has reached S Rank Reason for +1 range, and that's something of note.
I am kind of short on money now, so I no longer buy out gifts from the merchants, but having 10 AP does leave me time to bring people out for dinner, because there's only so many Advanced Drills I can be doing that will strengthen what I've been focusing on for Rikka, being Swords, Brawling, and Bows.
I perform 3 sessions of exploration, followed by battles on the final week of the month to complete a Quest to unlock the 4th merchant, and my remaining two available Paralogues. Ingrid and Sylvain have hit A+ in Riding, so they have now learned Movement +1.
Certifications:
Dimitri - Great Lord
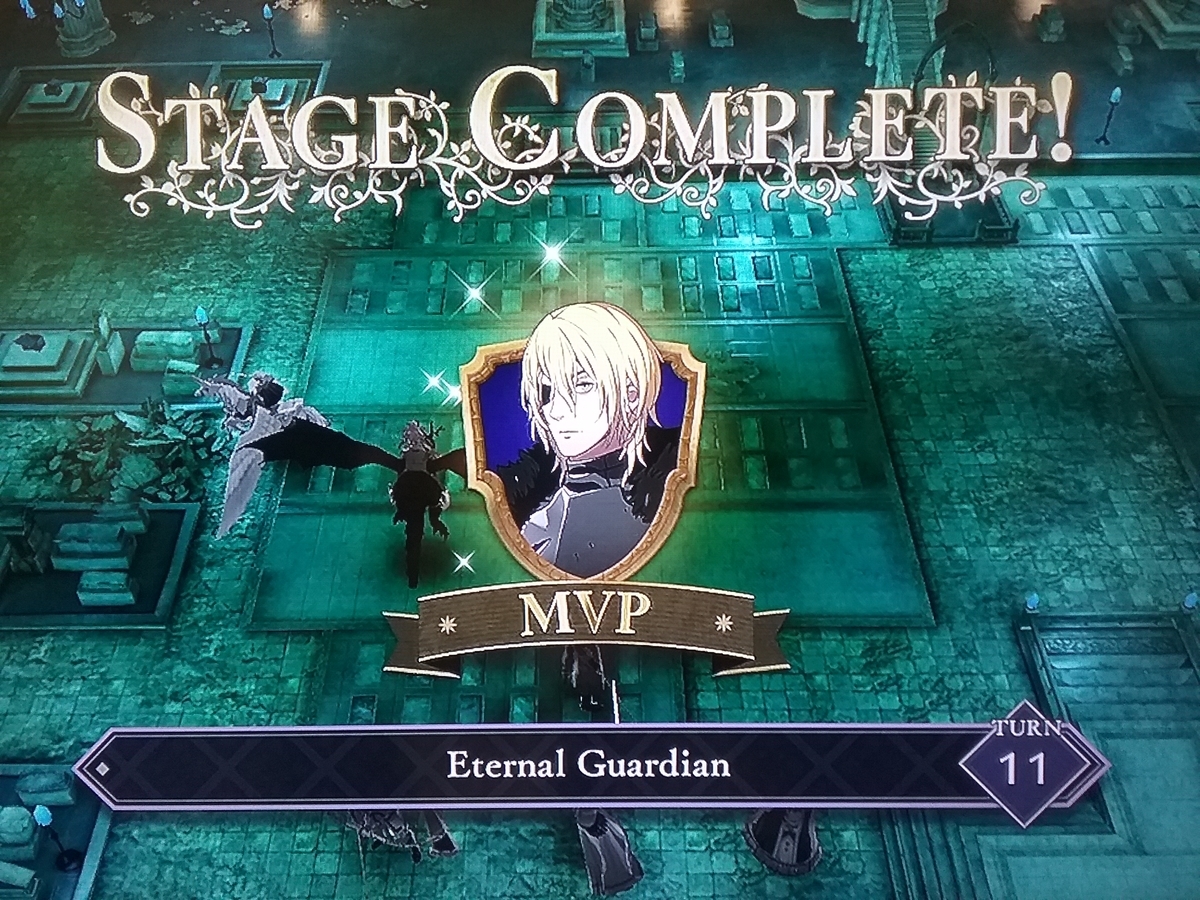
Paralogue: Eternal Guardian
Deploy: Rikka, Dimitri, Lysithea, Annette (Gilbert), Ashe, Catherine, Ingrid, Sylvain, Flayn, Lysithea, Hilda, Dorothea
Rhea's Paralogue. We find a message from Rhea from just before the war broke out. It seems that she left something for us in the Holy Tomb. We set out to retrieve the item, and be prepared for combat against the defense mechanism that Rhea had set up in the area.
The enemies on this map are pretty dangerous, as there are a lot of hard hitting magic attackers on this map. Altered Golems are very dangerous to fight against if I do not have my units properly in place to take them out as they have Range 3 Atk, are immune to magic when their barriers are up, and hit for 54 on magic. There's also a handful of Bow Knights that spread around the map that can be a real annoyance to my positioning with how much ground they can cover. Lastly, are two Warlocks along the right side of the map that have Bolting, and they are not something I want to get caught off guard by. One additional difference between Maddening and Hard mode is that the commanders can move on Maddening, though it isn't a super important point.
I decided to try a bit of a swag strategy for this map, and take advantage of Dimitri having both Battalion Wrath and Battalion Vantage. On the opening turn, I apply Retribution onto Dimitri, then Warp him in to the middle of a group of enemies including the Warlock with Bolting, and watch him work. This basically clears out a large amount of the right side of the map, giving me some proper footing into the remainder of the map.

My set up for vantage wrath could have been a bit cleaner, since Dimitri is missing a few pieces of the set up such as Lance Crit +10, or a different Battalion that has more emphasis on Acc and Crit buffs. What I had was serviceable, but 80% crit against the enemies did leave some windows for missed rolls, that lead to Dimitri taking some potential damage risks. The enemy Bishops having Miracle and a 1/4 chance of activating it also was a risk factor. Still, Dimitri was able to clear out a good chunk of the enemies including both Bolting Warlocks, opening up a path to get off the starting platform area.
I had most of my forces head towards the right, to move in once Dimitri cleared out the area, with Ingrid, Annette, Hilda, Petra, and Catherine heading towards the left to fight some of the enemies stationed on that side of the map. With the Bolting Warlocks taken out, and half the Bow Knights neutralized, the map gets a lot easier to navigate, with only the Altered Golems as the real remaining dangers.
The Golems move kind of erratically, which makes them a little bit annoying to deal with as they can be pretty whimsical whether they want to actually approach me or not. The one with an Axe weakness walks close enough to my forces on the right to be taken out, but the other two kind of sit in the back. I take advantage of Ingrid's high movement and Lure Gambit in order to stun these Golems and move them closer to my army to deal with safely and out of range of other enemies.
Eventually the Golems are defeated and what remains is to defeat the remaining enemy commanders, which is simply a matter of getting in range of one of the Paladins, and letting them approach me. We defeat the phantom soldiers guarding the tomb and retrieve the Seiros Shield.
Three Divine Pulse uses. One because I forgot to use Retribution on Dimitri and used up Rikka's turn who had the Indech Sword Fighters to apply it. Two more because Dimitri ended up getting hit by a 35% accurate Gambit which one time outright killed him, and another time had him survive, but with no real safe way to get him back to safety.
Resets: 0 (1)
Divine Pulses: 3 (39)
Roster:
Rikka - L34
Dorothea - L36
Lysithea - L35
Dimitri - L35
Annette - L34
Flayn - L34
Ashe - L34
Sylvain - L34
Hilda - L34
Ingrid - L33
Petra - L33
Catherine - L32